
Skip to content
Tile roof underlayment replacement
The APR Standard

How does Advanced Precision Roofing estimate and build a tile roof?

Advanced Precision Roofing follows a documented three-phase method for evaluating, specifying and rebuilding tile roofing systems. We call it the APR Standard: Assess, Propose, Rebuild.

Phase 1 of 3

Assess

Nothing is eyeballed.

APR does not estimate a tile roof by eyeballing it. Every estimate starts from measurements and a first-hand inspection.

Every roof is measured from an aerial report before pricing is discussed. The report establishes key roof information such as the roof outline, flat sections, tile count and estimated tile weight.

Don Tomko then walks the roof himself and documents the condition of the underlayment, flashing and roof deck.

The estimate is based on both measured roof data and the actual condition of the roofing system.

From the aerial report

  • Roof outline
  • Flat sections
  • Tile count
  • Estimated tile weight

From the roof walk

  • Underlayment condition
  • Flashing condition
  • Roof deck condition

Phase 2 of 3

Propose

You receive a written proposal that names the roofing system and the materials going on your roof.

Instead of vague descriptions such as “premium underlayment,” the proposal specifies the underlayment system by name. These are the three systems APR works with:

Option 1

40lb Commercial Grade

A 40lb commercial-grade underlayment. It is one of the underlayment systems APR may specify, depending on the roof.

Option 2

30lb Base + UDL50 Synthetic

A double-layer system using a 30lb base layer with Titanium UDL50 synthetic underlayment installed over it. The written proposal identifies when this system is appropriate for the roof.

Option 3

Westlake TileSeal

The Westlake TileSeal underlayment system. It is another system APR may specify, depending on the roof.

The written proposal identifies which system is recommended for the specific roof and explains the scope of work.

The written scope is the final scope

The written scope is the final scope for the work listed in the proposal. APR does not add change orders for work already included in that scope.

Decking is stated up front

Three sheets of plywood are included in the proposal. If additional decking is required, the applicable rates are published with the written scope.

Phase 3 of 3

Rebuild

A complete tile underlayment rebuild involves the following. Your proposal lists the steps your roof actually needs.

  1. 1 Remove and stack the existing roof tile, remove the battens and existing underlayment, and expose the base wood deck. Clean debris throughout the project and complete a final detailed cleanup.
  2. 2 Install the specified underlayment system across the roof deck.
  3. 3 Replace base plywood as necessary. Three sheets are included in the proposal; additional decking is handled according to the rates published with the written scope.
  4. 4 Install wood tile support battens.
  5. 5 Install vent pipe seals with the required waterproofing details.
  6. 6 Install T-vent flashings with the required lower sealing and waterproofing details.
  7. 7 Install 6-inch channel drainage metal at tile-to-wall termination points where needed.
  8. 8 Install 24-inch valley drainage metal with a redundant underlayment layer beneath the valley pan and extend valleys appropriately.
  9. 9 Seal metal edge terminations and flashings where necessary using polyurethane sealant.
  10. 10 Install new ridge and hip enclosure across the applicable roof areas.
  11. 11 Replace ridge and hip support wood where necessary.
  12. 12 Install ridge and hip termination mortar with attention to proper finish and appearance.
  13. 13 Replace broken tiles with the closest available match. New tile may not match existing aged tile exactly, so replacement tile should be placed in the least visible areas where practical.
  14. 14 Reset the existing tile for the best practical alignment and appearance.
  15. 15 Paint T-vents, roof vents, pipe flashings and roof-related penetrations to coordinate with the tile as closely as practical.
  16. 16 Secure three rows of tile around the roof perimeter in accordance with current code requirements.
  17. 17 Where applicable, coordinate removal and replacement of existing solar panels through a licensed company.
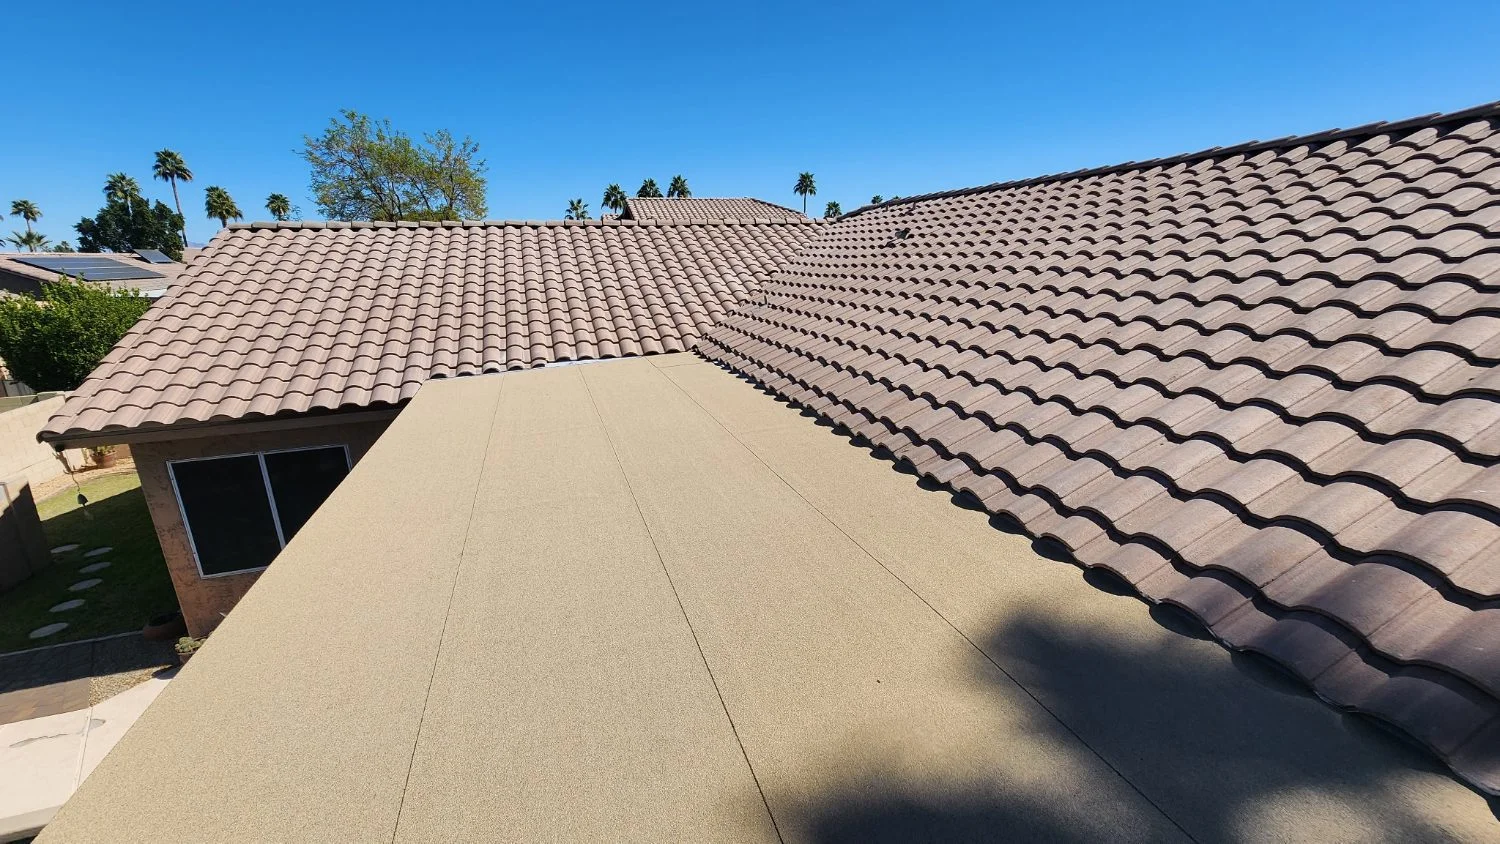
  18. 18 Where applicable, install the specified roofing system on flat patio roof areas.

The APR Standard

Why the APR Standard Matters

Before work begins, you know what was measured, what was found, what is being installed and how it will be built.

  • Measured roof data

    The estimate starts from an aerial report of the roof, not a visual guess.

  • Documented roof condition

    The underlayment, flashing and roof deck are inspected on the roof and recorded.

  • Named material systems

    The proposal names the underlayment system and materials being installed.

  • A written scope

    The work is defined in writing before it begins, and that scope is the final scope for the work it lists.

  • A defined rebuild process

    The installation follows a set sequence, with your proposal listing the steps your roof needs.

Company

Who stands behind the APR Standard

Owner
Don Tomko
License
ROC #265504 (K-42)
Founded
2009
Roofs completed
1,800+

Advanced Precision Roofing

Address
321 E Pinon Way
Gilbert, AZ 85234
Hours
Monday – Friday: 7:00am - 6:00pmSaturday: ClosedSunday: Closed

Next step

Need a Roofing Company in Gilbert or the East Valley?

Talk with Advanced Precision Roofing about your residential or commercial roofing project. We work with tile, shingle and foam roofing systems throughout Gilbert and the surrounding East Valley.

or talk to the owner direct 480-255-1115